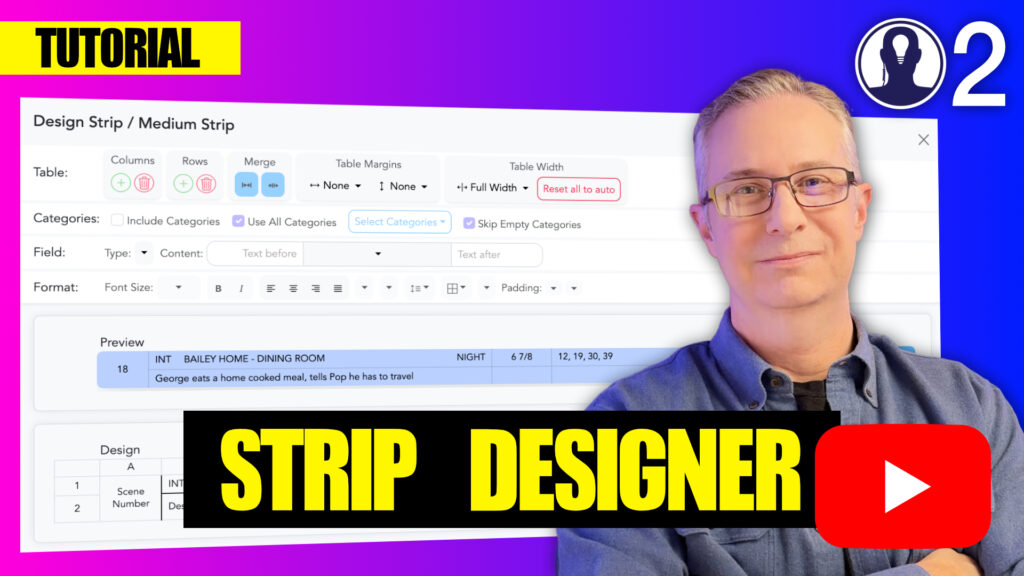
Creating a custom design in Think Crew allows you to tailor how your schedule appears, making information clearer and more accessible to your production team. This guide walks you through the process of creating a new design from scratch.
Step-by-Step Design Creation
- Access the Design Interface:
- Open your project and navigate to the Schedules section
- Select the schedule you want to customize
- In the top menu, select “Manage / Designs”
- Create a New Design:
- Click the “New” button
- Design Settings:
- Type a name for you new design
- Set the default strip, banner and day strip from their respective dropdowns
- Set the palette from the dropdown
Design Best Practices
- Use meaningful names for your designs to easily identify them later
- Create consistent layouts across different strip types for visual harmony
- Consider information hierarchy – place the most important details where they’ll be seen first
- Test your design with actual schedule data before finalizing
- Create different designs for different viewing contexts (presentations vs. working documents)
Applying Your Design
Once created, you can apply your design to a schedule by:
- Opening the schedule you want to modify
- In the top menu bar, use the design chooser (second icon from the right) to select the current design
You can create multiple designs and switch between them as needed, giving you flexibility in how you present your production schedule for different purposes or audiences.
Here is a tutorial video that covers the designer:

