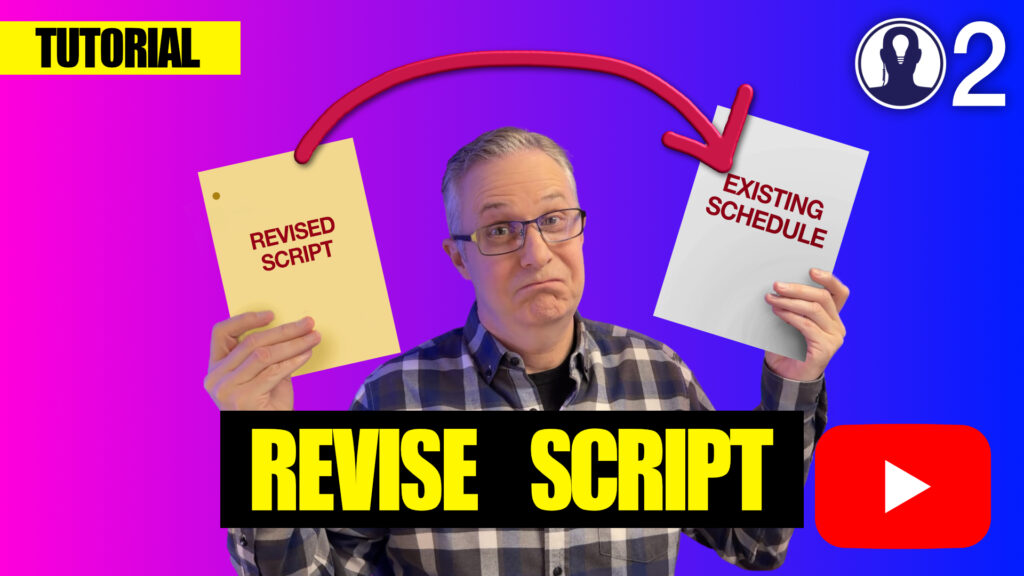
How to Use Think Crew’s Revise Script Feature
Seamlessly update your existing schedule when a new script version arrives
Getting Started
Step 1: Upload Your Revised Script
- Navigate to the Script page in Think Crew
- Upload your new script by dragging it from your desktop or using the upload button
- You’ll see both scripts listed:
- Your original script (displayed in white)
- Your revised script (displayed in blue)
Step 2: Access the Revise Feature
- Go to your Schedule page and identify which schedule you would like to ingest the new script into
- Click Manage on that schedule’s card
- Look for the new “Revise an Existing Script” option
The Revision Process
Step 3: Configure Your Revision
The revision process involves three key selections:
- Identify the script you’re revising
- Select from your existing scripts in the schedule
- Particularly useful when block shooting TV shows with multiple scripts
- Select the revised script
- Choose your newly uploaded script (the blue one)
- Start the process
- Click to begin the comparison analysis
Understanding the Revision Report
Think Crew generates a comprehensive change report that shows exactly what’s different between your scripts. Here’s how to read it:
Report Layout
Left Side: Breakdown information changes for each scene Right Side: Element changes for each scene
Color Coding System
- Red with strikethrough: Content from your original script (will be removed)
- Green text: New content from the revised script (will be added)
- Checkboxes: Control which changes get applied to your schedule
Scene Status Categories
The report covers all scene changes including:
- Modified scenes: Existing scenes with changes
- New scenes: Completely new additions
- Omitted scenes: Scenes removed from the new version
- Unomitted scenes: Previously omitted scenes now back in the script
Customizing Your Import
Selective Change Application
Individual Control: Uncheck any checkbox to reject specific changes Bulk Field Control: Use the “Show Fields” feature for efficient management
Field Management Options
Click “Show Fields” to toggle entire categories:
- Cast changes: Turn off to preserve existing cast assignments
- Set names: Maintain current location names
- Descriptions: Keep your custom scene descriptions
- Universal controls:
- “Unselect everything” to start fresh
- Toggle all fields on/off simultaneously
Special Scene Handling
Omitted Scenes: Choose to move breakdown to recycle bin or keep for reference New Scenes: Decide whether to add breakdown to recycle bin or import directly Unomitted Scenes: Automatically restored and updated in place
Finalizing Your Changes
Complete the Import
- Review all selected changes in the report
- Ensure field toggles match your preferences
- Click “Ingest Changes”
- All approved modifications are automatically applied to your existing schedule
Verify Results
Navigate back to your schedule to see the updates in action. Changes are seamlessly integrated while preserving your existing work and customizations.
Pro Tips
- Preserve Custom Work: Turn off description imports if you’ve added detailed custom descriptions
- Bulk Operations: Use field toggles to efficiently manage large scripts with many scenes
- Review Before Import: Take time to review the change report—you can always adjust selections before ingesting
Here is a video that covers this topic: