Skip to content
Think Crew Support

Think Crew Support

Answers to all of your questions

Account Management

3
  • Subscription Plans and Billing
  • Managing Your Subscription
  • Password Management

Collaboration Features

2
  • Team Collaboration Overview
  • Managing User Permissions

Devices & Internet

3
  • Using Think Crew on Mobile Devices
  • Running Think Crew from Your Desktop
  • Offline Access and Synchronization

Internationalization

4
  • Language Settings and Preferences
  • Available Languages and Translations
  • Setting Measurement Preferences
  • Date and Time Format Customization

Overview

14
  • Introduction to Think Crew
  • System Requirements and Browser Compatibility
  • Creating Your Account
  • Quick Start Guide
  • Navigating the Interface
  • Customizing Your User Profile
  • Your User Page
  • Search
  • Alerts
  • Understanding the Dashboard
  • Permissions Page
  • Keyboard Shortcuts and Time-saving Tips
  • Feature Requests
  • Report an Issue

Progress Reports

1
  • Progress Reports

Projects

6
  • Creating a New Project
  • Projects Page Overview
  • Managing Project Settings
  • Deleting Projects
  • Adding Users to Projects
  • Setting User Permissions

Schedule Page

44
  • Schedules Page Overview
  • Managing Panes (Tab Pane System)
  • Managing Schedule Scenarios
  • Creating and Managing Calendar Events
  • Printing Schedules
  • Schedule Settings
  • Boards
    • Board Views (Strips, Calendar)
    • Working with Boards
    • Recycle Bin
    • Drag and Drop Scheduling
    • Find & Replace
    • Sort & Add Days
    • Updating Multiple Breakdowns (Multi-Select)
  • Breakdowns
    • Breakdown Fundamentals
    • Creating Breakdown Sheets
    • Adding Data to a Breakdown
    • Linking Breakdowns to Scenes
    • Manually Setting a Strip’s Color
  • Categories & Elements
    • Category & Element Fundamentals
    • Managing Elements
    • Managing Categories
    • Working with the Elements Pane
  • Day Out of Days
    • Day Out of Days Overview
    • Where is the Day Out of Days
    • Day Out of Days Views (Grid, Calendar)
    • Selecting a Category and Board
    • Setting a Date Range
    • Day Out of Days Settings
    • Day Out of Days Filtering
    • Managing Totals Columns
    • Solo Elements
    • Show Only Working Elements
    • Changing the Schedule in the Day Out of Days (Moving Columns)
  • Designs
    • Designs Overview
    • Creating a Design
    • Creating a Strip
    • Design a Strip
    • Design Strip Menu Bar – Table
    • Design Strip Menu Bar – Categories
    • Design Strip Menu Bar – Field
    • Design Strip Menu Bar – Format
    • Strip Preview
    • Creating a Palette
    • Sharing Designs, Strips & Palettes

Schedules

6
  • Create a Schedule
  • Duplicating Schedules
  • Import & Export Schedules
  • Moving a Schedule to Another Project
  • Deleting Schedules
  • Revising Scripts

Script Page

5
  • Script Editor Basics
  • Working with Scenes
  • Script Views (Scene, Breakdown, Script)
  • Managing Scene Breakdowns
  • Renumbering Scenes

Scripts

7
  • Importing Scripts
  • Managing a Script
  • Moving a Script to Another Project
  • Scripts Page Overview
  • Deleting Scripts
  • Automatic Scene Descriptions
  • How to Import Scripts from Scriptation

Site Info

3
  • Change Log
  • AI Scene Descriptions: Data Security and Privacy
  • Think Crew Security Overview

Troubleshooting

4
  • Common Issues and Solutions
  • Contacting Support
  • System Status and Maintenance Information
  • How to Hard-Reload Think Crew
View Categories
  • Home
  • Docs
  • Schedule Page
  • Designs
  • Creating a Design

Creating a Design

1 min read

Creating a custom design in Think Crew allows you to tailor how your schedule appears, making information clearer and more accessible to your production team. This guide walks you through the process of creating a new design from scratch.

Step-by-Step Design Creation #

  1. Access the Design Interface:
    • Open your project and navigate to the Schedules section
    • Select the schedule you want to customize
    • In the top menu, select “Manage / Designs”
  2. Create a New Design:
    • Click the “New” button
  3. Design Settings:
    • Type a name for you new design
    • Set the default strip, banner and day strip from their respective dropdowns
    • Set the palette from the dropdown

Design Best Practices #

  • Use meaningful names for your designs to easily identify them later
  • Create consistent layouts across different strip types for visual harmony
  • Consider information hierarchy – place the most important details where they’ll be seen first
  • Test your design with actual schedule data before finalizing
  • Create different designs for different viewing contexts (presentations vs. working documents)

Applying Your Design #

Once created, you can apply your design to a schedule by:

  1. Opening the schedule you want to modify
  2. In the top menu bar, use the design chooser (second icon from the right) to select the current design

You can create multiple designs and switch between them as needed, giving you flexibility in how you present your production schedule for different purposes or audiences.

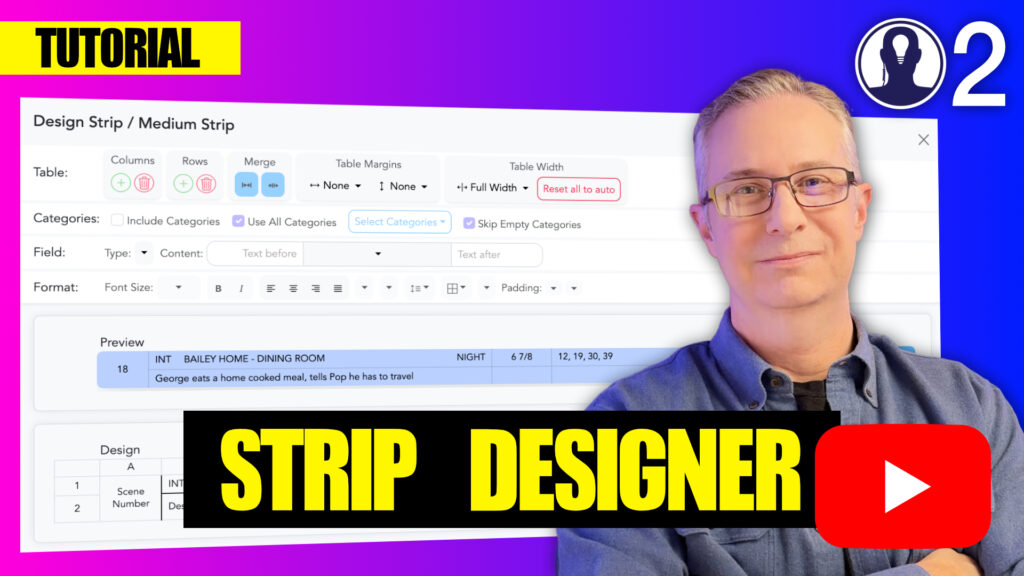
Here is a tutorial video that covers the designer:

Updated on April 23, 2025
BestPractices

What are your Feelings

  • Happy
  • Normal
  • Sad

Share This Article :

  • Facebook
  • X
  • LinkedIn
  • Pinterest
Designs OverviewCreating a Strip

Leave a Reply Cancel reply

Your email address will not be published. Required fields are marked *

Table of Contents
  • Step-by-Step Design Creation
  • Design Best Practices
  • Applying Your Design
  • Facebook
  • YouTube
  • Instagram
  • Bluesky
Proudly powered by WordPress