Progress Reports allow you to track shooting progress in real-time and keep your entire crew informed about what you’re shooting and when, whether they’re on set, in base camp, or in transit.
Overview #
Think Crew’s Progress Reports feature goes beyond traditional production office call-ins. While maintaining the ability to log standard events like first shots, lunch breaks, and wrap times, Progress Reports also provide powerful visualizations and crew communication tools that keep everyone synchronized throughout the shoot day.
Creating Your First Progress Report #
Step-by-Step Setup #
- Navigate to Progress Reports in the sidebar menu
- Click New to create a new progress report
- Select your data hierarchy:
- Schedule: Choose which schedule version (e.g., “Second Draft”)
- Scenario: Select the scenario (e.g., “First Pass”)
- Board: Pick the specific board (e.g., “First Unit”)
- Choose your Visualization (Strip is the default option)
- Click Create to generate your progress report
Understanding the Progress Report Interface #
Header Section #
- Date Navigation: Use left/right arrows to move between shoot days
- Data Context: Shows your selected schedule, scenario, and board at a glance
- Visualization Dropdown: Switch between different data views
Main Content Area #
Displays all strips/scenes scheduled for the selected date, with interactive tools for tracking progress.
Footer Section #
- Page Count Summary: Shows total pages for the day and completed pages
- Traditional Progress Report: Log standard production events and times
Scene Status Management #
Status Options #
Each scene can be marked with one of three statuses:
No Status: Scene hasn’t been addressed yet (default state)
Part: Scene is partially shot
- Click once on the status indicator to set
Shooting: Scene is currently being filmed
- Click twice on the status indicator to set
Done: Scene is completely finished
- Check the “Done” checkbox to mark complete
- Automatically timestamps when the scene was finished
- Status indicator shows completion time instead of status
Managing Completion Times #
- Automatic Timestamps: Checking “Done” records the current time
- Edit Times: Click on the timestamp to modify the completion time
- Remove Completion: Uncheck the “Done” box to revert to status tracking
Visualization Options #
Strip View (Default) #
Traditional horizontal strips showing scenes in chronological order. Familiar layout for most production teams.
Strip Duration View #
- Strips appear as traditional horizontal bars
- Height indicates estimated duration of each scene
- Quickly identify which scenes will take the most time
- Based on durations entered in your breakdown
- Scenes without duration data appear at normal height
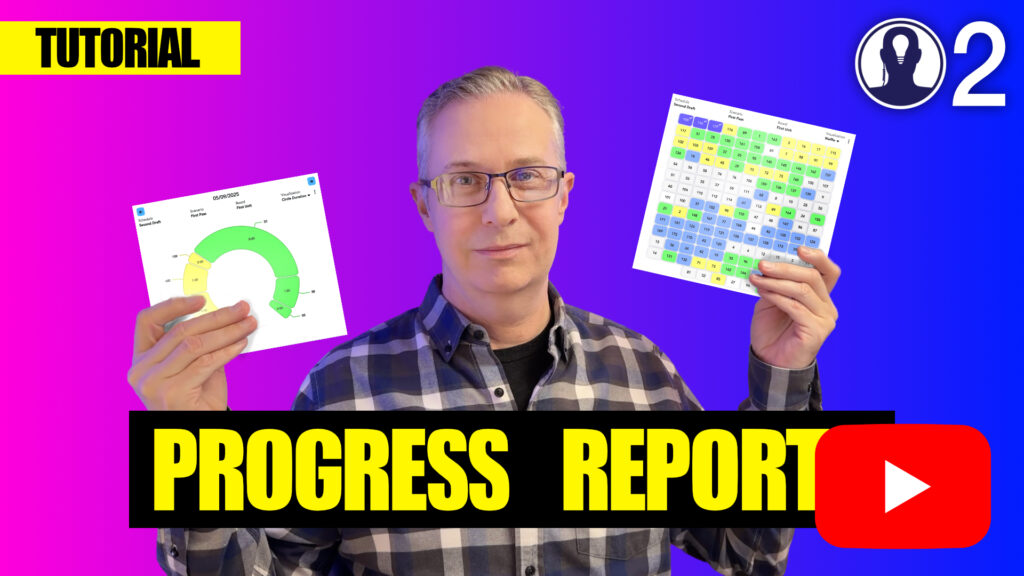
Circle Chart #
- Scenes displayed as circular segments
- Size represents estimated duration
- Hover over segments to see scene details and duration estimates
- Provides at-a-glance understanding of time allocation
Overview (Waffle Board) #
- Grid layout showing all scene numbers for the entire board
- Check off completed scenes across all shoot days
- Perfect for tracking overall production progress
- Ideal for department heads monitoring completion status
Traditional Progress Report Events #
Standard Events #
Log key production milestones with timestamps:
- Call: When crew call time occurs
- First Shot: When principal photography begins for the day
- Lunch Start: Beginning of meal break
- Lunch End: Return from meal break
- First Shot After Lunch: Resume filming
- Wrap: End of shooting day
Adding Event Times #
- Manual Entry: Click on time field and enter specific time
- Current Time Button: Click the clock button to insert current time automatically
- Custom Events: Add additional events as needed for your production
Editing Events #
- Click the Edit button in the progress report section
- Modify Labels: Change event names (e.g., “Second Meal Start”)
- Add Events: Include additional milestones
- Remove Events: Delete unnecessary items
- Set Event Types: Categorize events (meal start, meal end, wrap, etc.)
- Click Done to save changes
Data Synchronization #
Cross-Visualization Sync #
All visualization options share the same underlying data:
- Mark a scene complete in Strip view → automatically updates Circle Chart and Overview
- Status changes in any view instantly reflect across all visualizations
- Page counts update in real-time based on completed scenes
Board Integration #
Progress Reports remain synchronized with your shooting boards:
- Changes in Progress Reports update corresponding board data
- Completion status carries over between views
- Consistent data across all Think Crew tools
Maintaining Board Synchronization #
Update Board Dates #
If you modify shoot dates in your original board after creating a Progress Report:
- Click the context menu (three dots) in the top-right corner
- Select Update Board Dates
- Think Crew will resynchronize the Progress Report with your board’s current date structure
Important: Always run this update after changing shoot dates in your board to ensure data consistency.
Tutorial Video #
Here’s a tutorial video that covers everything above: