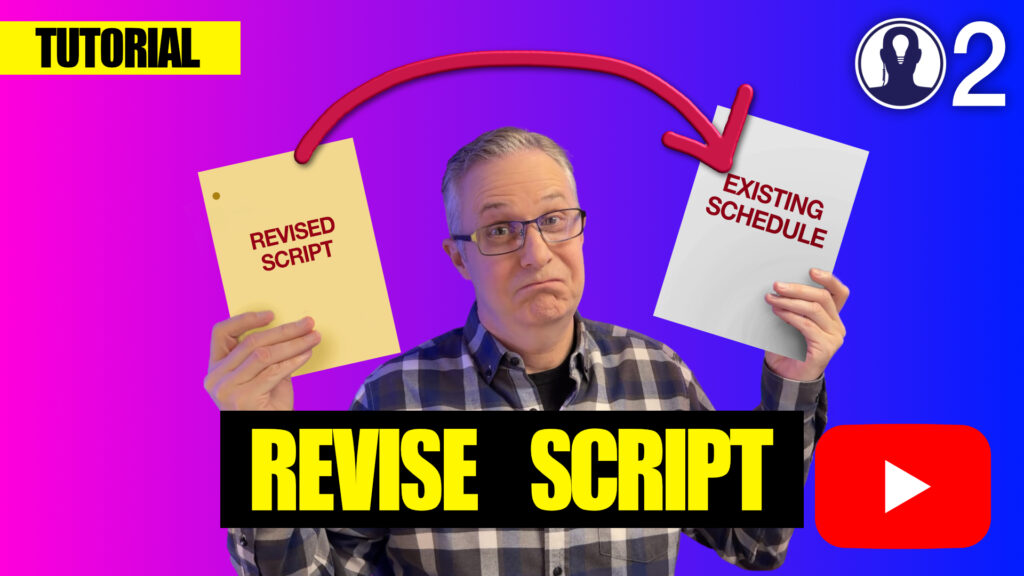
How to Use Think Crew’s Revise Script Feature #
Seamlessly update your existing schedule when a new script version arrives
Getting Started #
Step 1: Upload Your Revised Script #
- Navigate to the Script page in Think Crew
- Upload your new script by dragging it from your desktop or using the upload button
- You’ll see both scripts listed:
- Your original script (displayed in white)
- Your revised script (displayed in blue)
Step 2: Access the Revise Feature #
- Go to your Schedule page and identify which schedule you would like to ingest the new script into
- Click Manage on that schedule’s card
- Look for the new “Revise an Existing Script” option
The Revision Process #
Step 3: Configure Your Revision #
The revision process involves three key selections:
- Identify the script you’re revising
- Select from your existing scripts in the schedule
- Particularly useful when block shooting TV shows with multiple scripts
- Select the revised script
- Choose your newly uploaded script (the blue one)
- Start the process
- Click to begin the comparison analysis
Understanding the Revision Report #
Think Crew generates a comprehensive change report that shows exactly what’s different between your scripts. Here’s how to read it:
Report Layout #
Left Side: Breakdown information changes for each scene Right Side: Element changes for each scene
Color Coding System #
- Red with strikethrough: Content from your original script (will be removed)
- Green text: New content from the revised script (will be added)
- Checkboxes: Control which changes get applied to your schedule
Scene Status Categories #
The report covers all scene changes including:
- Modified scenes: Existing scenes with changes
- New scenes: Completely new additions
- Omitted scenes: Scenes removed from the new version
- Unomitted scenes: Previously omitted scenes now back in the script
Customizing Your Import #
Selective Change Application #
Individual Control: Uncheck any checkbox to reject specific changes Bulk Field Control: Use the “Show Fields” feature for efficient management
Field Management Options #
Click “Show Fields” to toggle entire categories:
- Cast changes: Turn off to preserve existing cast assignments
- Set names: Maintain current location names
- Descriptions: Keep your custom scene descriptions
- Universal controls:
- “Unselect everything” to start fresh
- Toggle all fields on/off simultaneously
Special Scene Handling #
Omitted Scenes: Choose to move breakdown to recycle bin or keep for reference New Scenes: Decide whether to add breakdown to recycle bin or import directly Unomitted Scenes: Automatically restored and updated in place
Finalizing Your Changes #
Complete the Import #
- Review all selected changes in the report
- Ensure field toggles match your preferences
- Click “Ingest Changes”
- All approved modifications are automatically applied to your existing schedule
Verify Results #
Navigate back to your schedule to see the updates in action. Changes are seamlessly integrated while preserving your existing work and customizations.
Pro Tips #
- Preserve Custom Work: Turn off description imports if you’ve added detailed custom descriptions
- Bulk Operations: Use field toggles to efficiently manage large scripts with many scenes
- Review Before Import: Take time to review the change report—you can always adjust selections before ingesting
Here is a video that covers this topic: